Hello readers!! Welcome to the 2nd blog post covering the electronics side of RC planes. In this blog, I will show you which parts I used, how I put together my circuit and what some general tips to keep in mind.
Firstly, I will be describing the components used, how they work, and a few things to keep in mind while choosing them. Then, I will show you how I connected them together to form the final working RC circuit. The components needed consist of a brushless motor, a 30 amp ESC, a receiver, a transmitter, 2 servo motors and a lithium polymer battery.
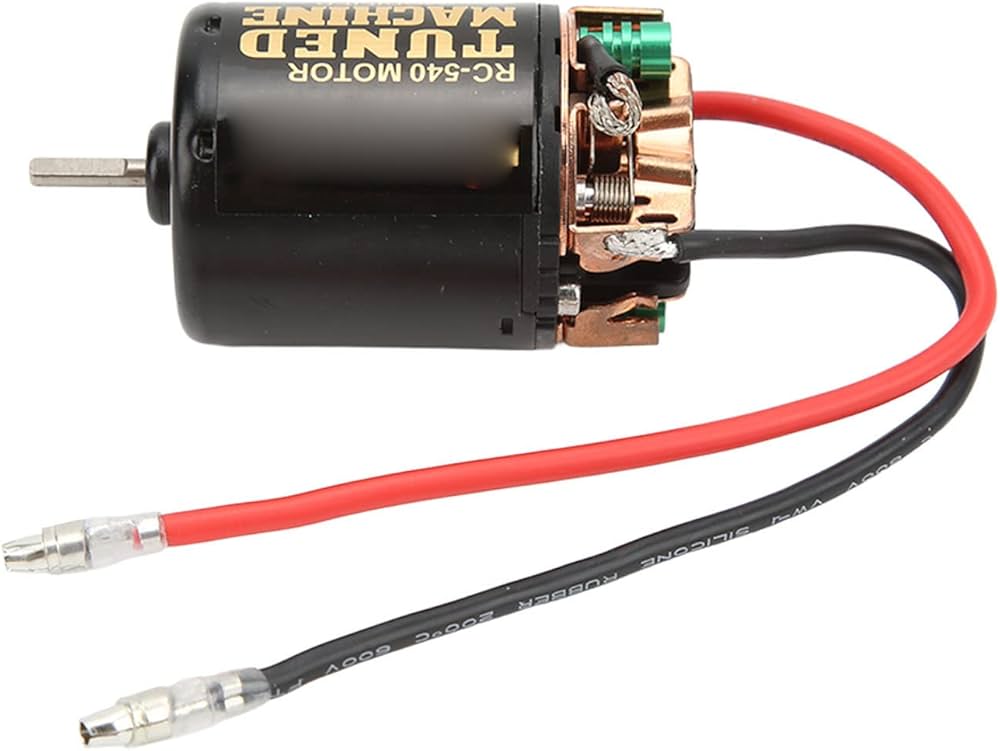
The Motor– This is the component that spins. The propellers are attached to the motor, which rotates to generate thrust. There are two types of motors: brushless and brushed. The main difference between the two is that, in brushed motors, the stationary field is created by permanent magnets interacting with a rotating field containing the motor windings. Brushless motors are the opposite: the stator field is the wound member, and the rotating field is the permanent magnet. Additionally, because there is no physical contact in brushless motors, they operate more efficiently, have longer lifespans, require less maintenance, and stay cooler while rotating. Overall, they are the better choice for a motor. The main way to distinguish between the two is that brushless motors have three leads that connect to the ESC, while brushed motors have two. So, depending on the type of motor, a different ESC may be needed. Furthermore, motors are rated with non-conventional power ratings, as kV (which does not mean kilovolts; rather, kV refers to the constant velocity of a motor, which is the number of revolutions per minute (rpm) a motor turns when 1V (one volt) is applied with no load attached).

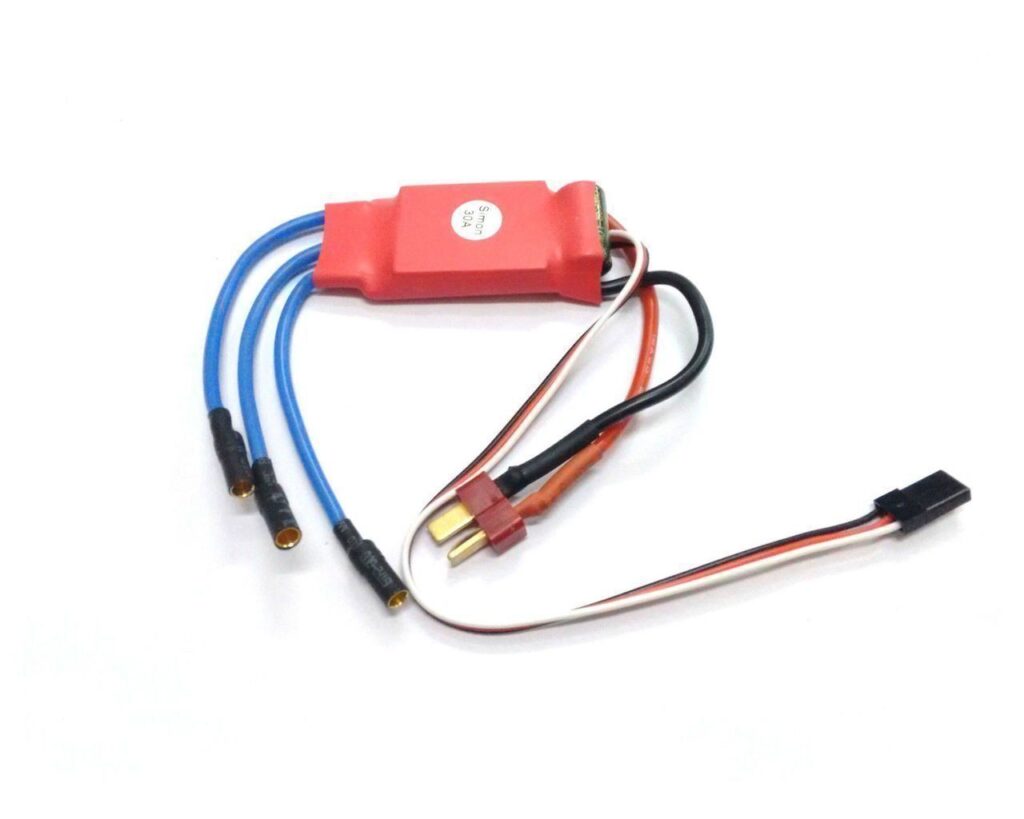
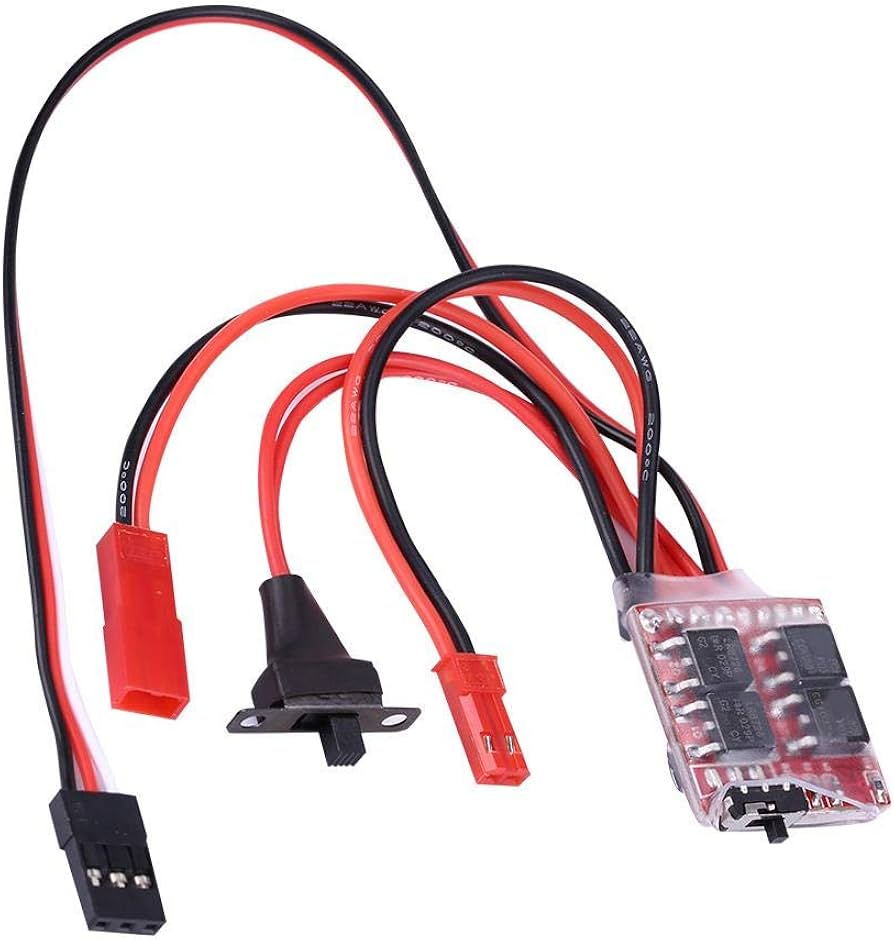
The ESC– The Electronic Speed Controller is the component responsible for regulating the power from the battery to the motor, allowing you to control the speed of the plane. It acts as the middleman between your transmitter and the motor, interpreting throttle inputs and adjusting the motor’s power accordingly. There are different ESCs for different types of motors, brushed ESCs have 2 output leads to match brushed motors, while brushless ESCs have 3 output leads for brushless motors. A key feature of the ESC is its amp rating, which determines how much current it can handle without overheating. In this case, a 30 amp ESC means it can safely handle up to 30 amps of current, making it a good match for most moderate-sized RC planes. Another important function of the ESC is its Battery Elimination Circuit (BEC), which allows the ESC to supply power to the receiver and servos without needing an extra battery. This simplifies your setup and reduces weight, which is always a plus for flight performance.
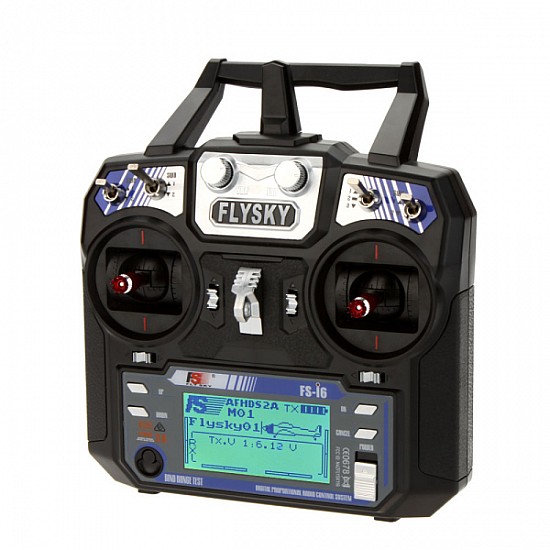
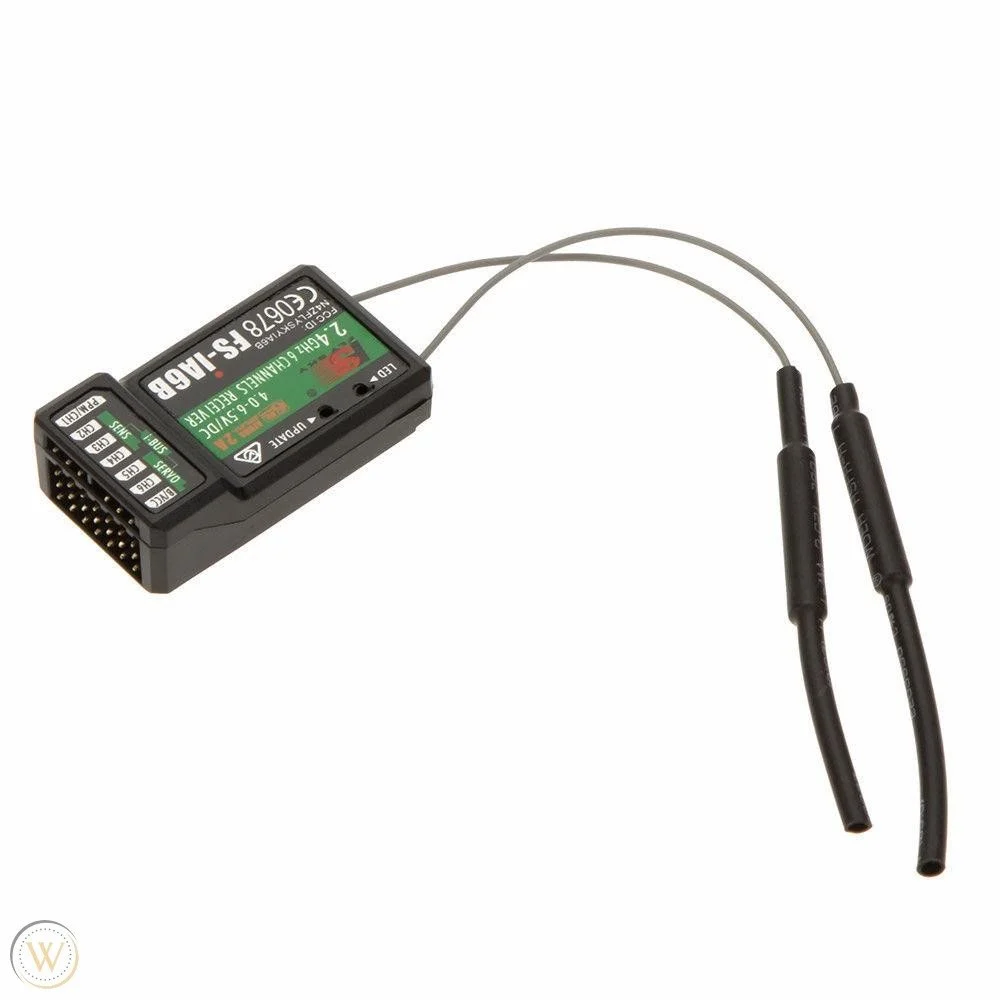
Receiver and Transmitter– The transmitter and receiver work together to give you full control over your RC plane from the ground. The transmitter is the handheld device you use to send signals to the plane, determining its movements by adjusting the throttle, ailerons, elevator, and rudder. The receiver, installed in the plane, picks up these signals and sends them to the appropriate components, such as the servos and the ESC. Transmitters operate on specific frequencies, usually in the 2.4GHz range for modern RC systems, providing a reliable and interference-free connection. The channels on the transmitter correspond to different controls on the plane; for example, a basic four-channel transmitter controls throttle, roll (ailerons), pitch (elevator), and yaw (rudder). The receiver is essentially the communication hub that ensures every input you make on the transmitter translates to real-time movements in the plane. A key consideration is making sure the binding process between the transmitter and receiver is properly completed, ensuring the two are synced and ready to work together.
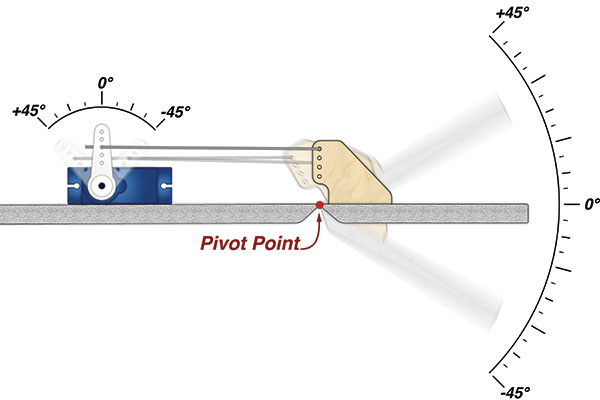
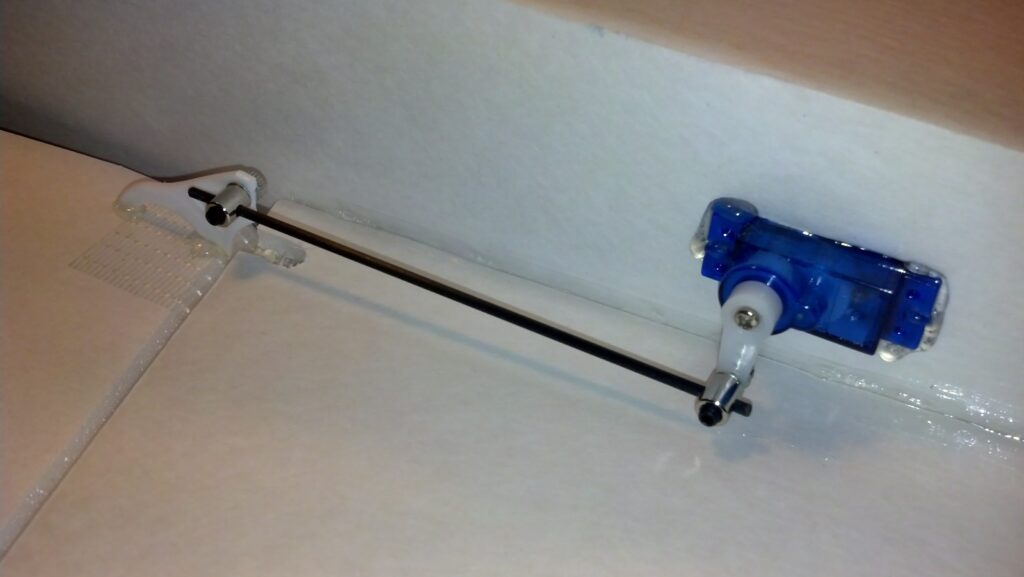
Servo motors- Servo motors are crucial components in an RC plane, responsible for controlling the movement of the control surfaces like the ailerons, elevator, and rudder. These small but powerful motors respond to the signals from the receiver, adjusting the plane’s orientation and direction based on your input from the transmitter. Each servo motor is connected to a specific control surface: one might control the ailerons to manage roll, another the elevator for pitch, and a third the rudder for yaw. The servo horn, a small arm attached to the servo, moves in precise increments to shift the control surfaces. Servos come in different sizes and torque ratings, depending on the size and power requirements of your plane. For instance, larger planes might require servos with higher torque to move larger control surfaces effectively.
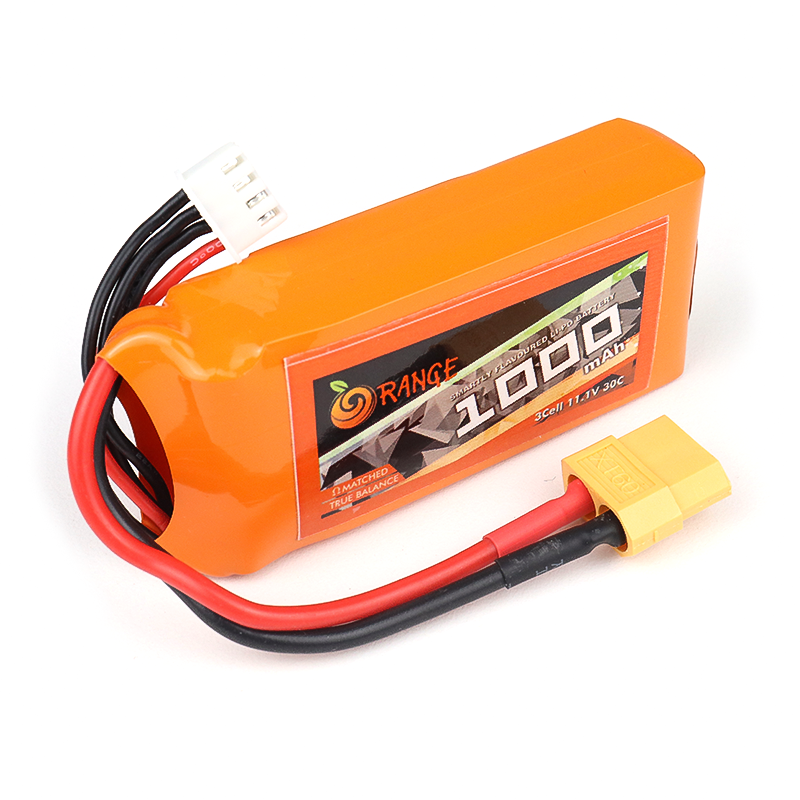
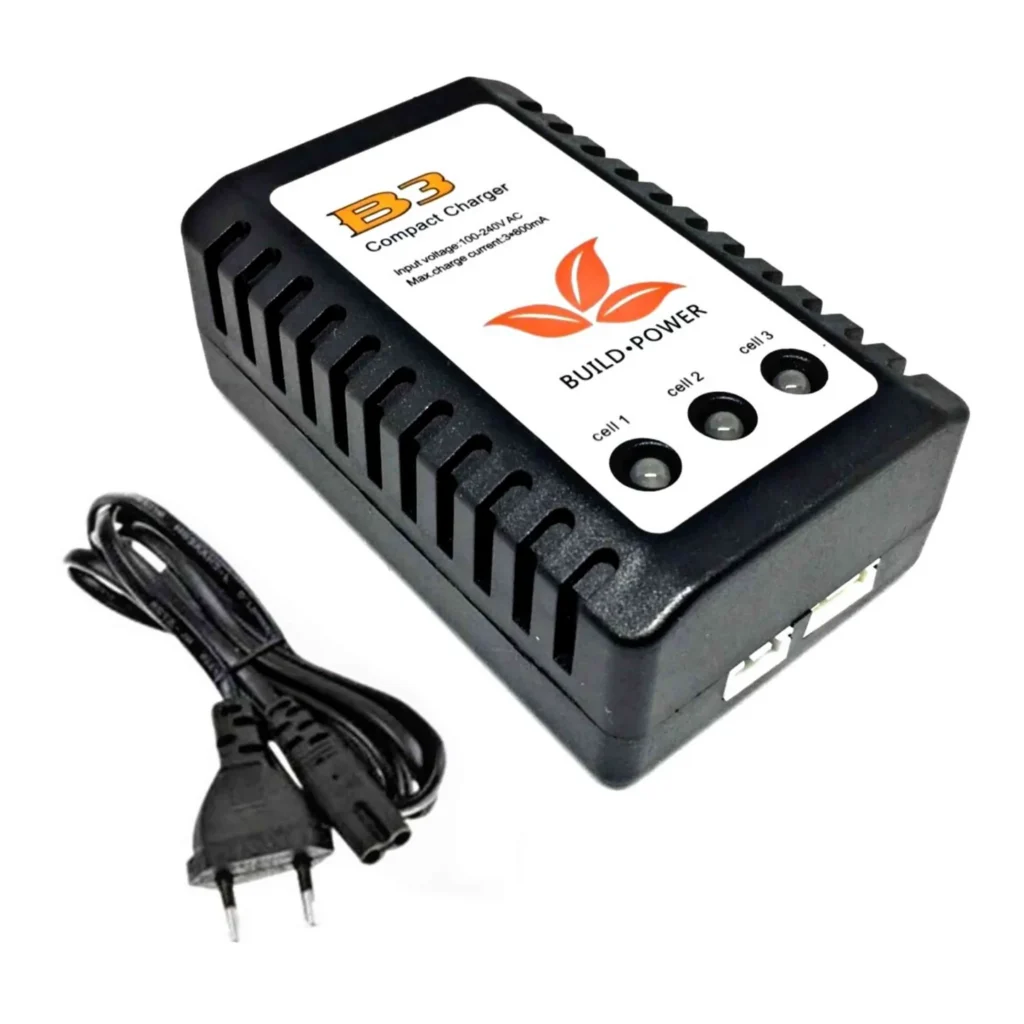
Battery- Batteries are the lifeblood of your RC plane, powering everything from the motor to the receiver and servos. The most commonly used type in RC planes is the Lithium Polymer or Lipo battery, known for being lightweight and delivering high power output. LiPo batteries come in various configurations, rated by voltage (V) and capacity (mAh). The voltage determines how much power the battery provides, while the capacity tells you how long it can sustain that power, affecting flight duration. For example, a higher-capacity battery will give you longer flight times but at the cost of added weight, which can impact the plane’s performance. It’s crucial to choose a battery that matches your plane’s power requirements and the ESC’s voltage rating to avoid damage or poor performance. Additionally, most LiPo batteries have multiple cells (S)—a 3S battery has three cells, providing around 11.1V. Proper care is essential for LiPo batteries, as they can be sensitive to overcharging or discharging. Using a balance charger is recommended to ensure each cell is charged evenly, prolonging the battery’s lifespan and maintaining its efficiency.
How to make electronics work together?
I will be answering this question by describing the process of setting up my plane’s electronics.
1. Binding the Receiver to the Transmitter
Firstly, bind your receiver to your transmitter. The exact process for binding depends on the product you’ve bought, but I highly encourage you to check the manual, as it often contains step-by-step directions for doing so. One important tool you’ll need for this is the bind key—keep that key handy, as it’s very small and easy to lose.
2. Testing the Servos
After binding, I tested my servos using the receiver and battery (see Image 1). I encourage you to do the same, ensuring that the servos respond correctly to the transmitter’s commands before installation.
3. Installing the Servo Motors
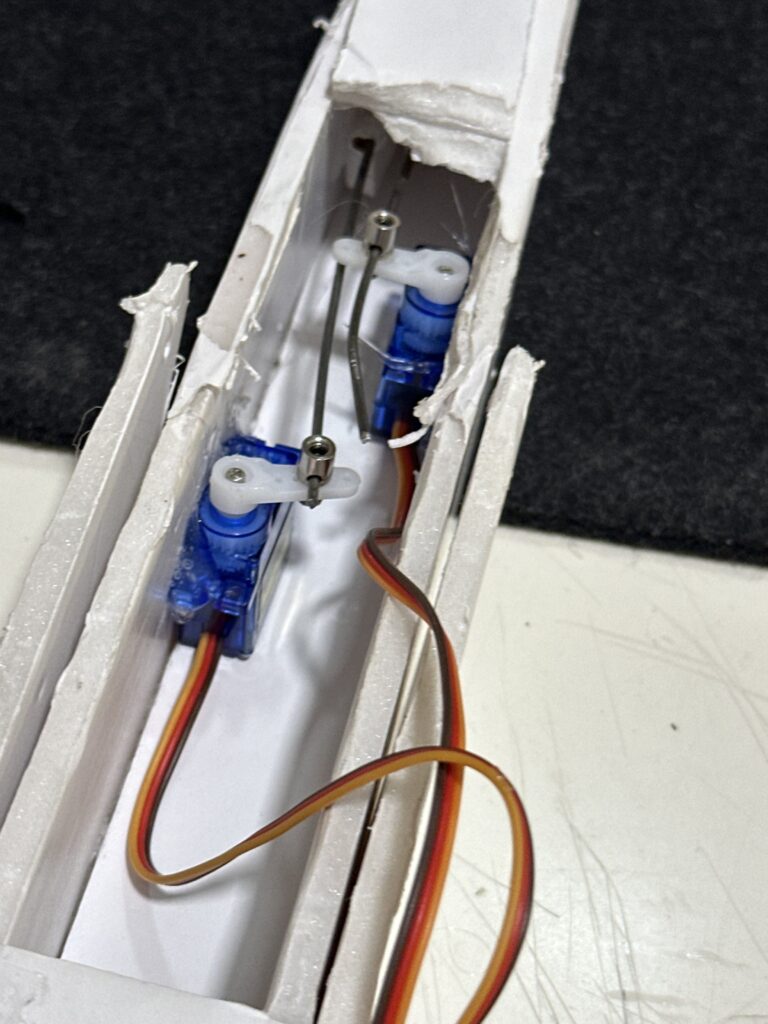
Once the servos are tested, you can install the servo motors into the plane’s body (see Image 2). After installation, connect the servos to the appropriate control surfaces—ailerons, elevator, and rudder.
4. Connecting the Motor
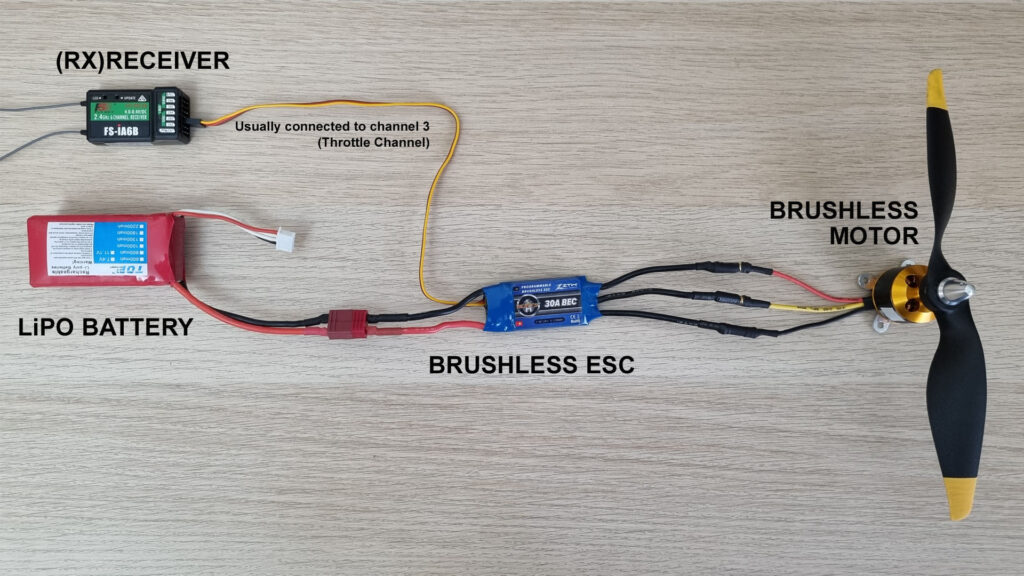
Next, I worked on connecting the motor to the receiver. This is done by connecting the Electronic Speed Controller (ESC) to three key components: The Battery, Receiver and Motor (see Image 3). The ESC draws energy from the battery to power both the motor and the receiver. It also takes commands from the receiver to control the motor’s amperage, which adjusts the motor speed.
5. Fitting it all into the Fuselage
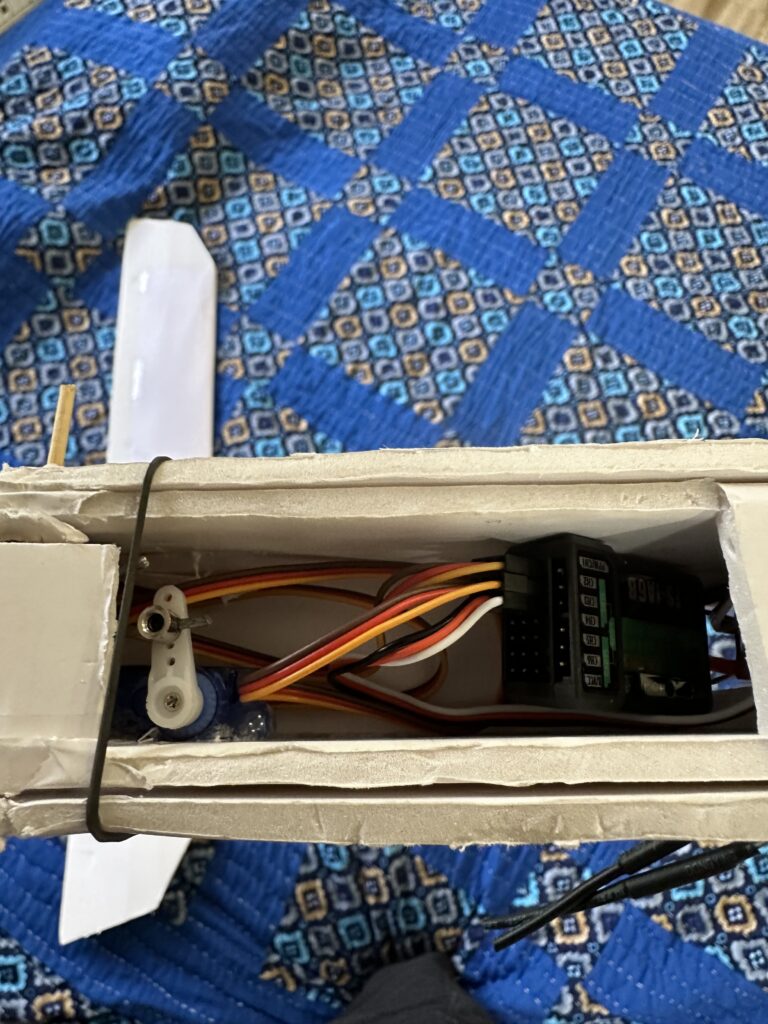
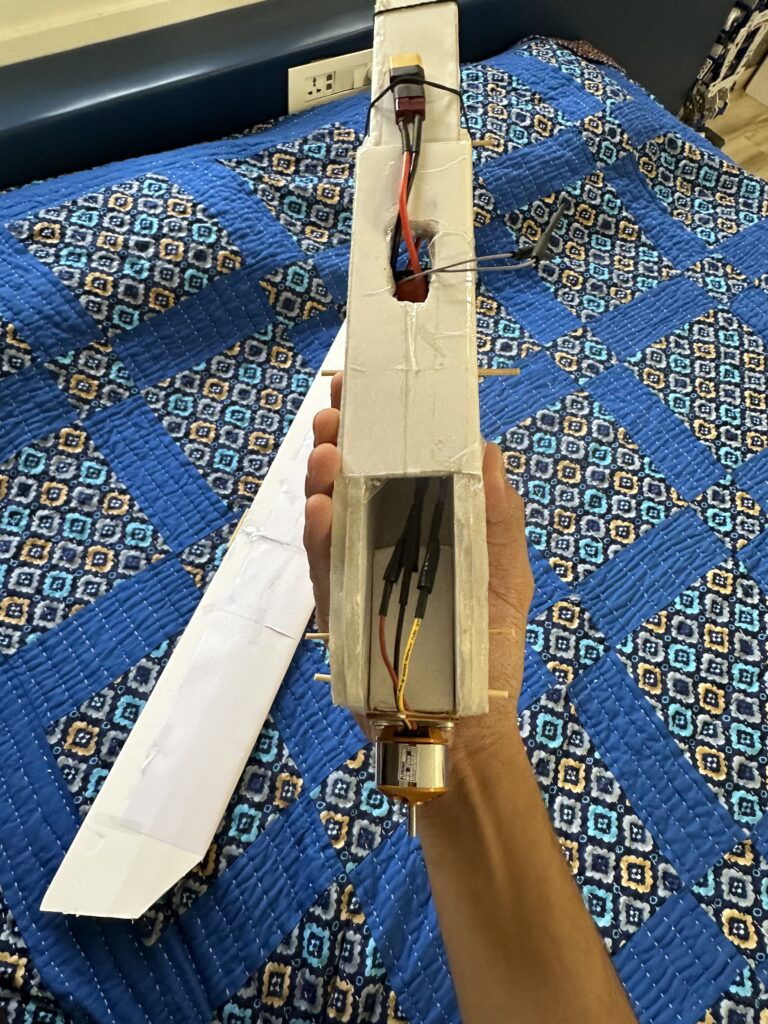
Once all the electronics are correctly hooked up, place them inside the fuselage of the plane and secure everything using double-sided tape or another sturdy adhesive (Image 4 & 5). Take extra care when mounting the motor, as the thrust it generates can cause it to dislodge if not properly secured. Ensure a tight fit for the motor, and double-check that both the control surfaces (ailerons, elevator, and rudder) and the motor are moving in the correct direction. If any of them are moving in the opposite direction, you may need to reverse their direction in the transmitter’s settings.
6. Testing the Throttle and Control Surfaces
After everything is connected, you should be able to control both the throttle (which powers the motor) and the control surfaces (ailerons, rudder, and elevator) using your transmitter (remote). These components work together to give you full control over your plane (see Video 1). Make sure the propellor is off the plane for this part to ensure you do not get injured.

I hope this blog helped you to understand how these electronics work together to help a plane fly, and how you can set up these electronics in your own RC plane project!!
